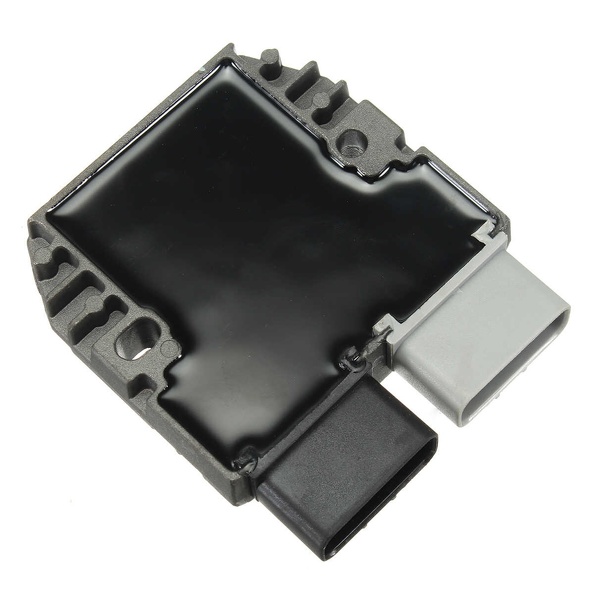
Motorcycles from around the early 80’s until the mid 2000s generally used shunt-type regulators. Newer bikes tend to use MOSFET regulators. The MOSFET type are more efficient and run much cooler (this video does a good job explaining why). The good news is that virtually any older bike can be upgraded with a newer, MOSFET-type regulator/rectifier.
The units to look for are the Shindengen FH020AA or the FH012AA. From what I can tell, the only difference is that the FH020AA is newer. No FH012AA’s were made after the 2011 earthquake and tsunami in Japan. Both are rated to 50 amps max and 35 amps continuous.
The regulator/rectifier units will always have FH012AA or FH020AA stamped on the bottom, as shown here:

Option 1 – More Money, Less Work
RoadsterCycle is a reputable company that sells brand-new, genuine Shindengen MOSFET regulator/rectifiers, along with a kit containing the correct connectors, wire, and crimp terminals. As of 2020, it’s priced at $142.70 shipped. If you don’t want to do any crimping, they sell a pre-crimped kit for $162.70 shipped.
Option 2 – Less Money, More Work
If you’re competent at wiring and willing to do some work, you can find a used regulator/rectifier on eBay.
The FH020AA is found on:
- 2013 – 2015 CBR500R (Honda part number 31600-MGZ-J01, according to MegaZip)
- 2015+ Yamaha FJR1300 (Yamaha part number 1D7-81960-01-00, according to MegaZip)
The FH012AA is found on:
- 2007 – 2014 Yamaha FJR1300
- 2006 – 2014 Yamaha R1
Of course, they’re also found on many other makes and models, but those are some common ones I’ve found.
Other Donor Bikes
To find other potential donor bikes, search Megazip for those part numbers. Honda, Yamaha. Be sure to pay attention to the listed year.
Connectors
In addition to the regulator/rectifier itself, you’ll need a pair of Furukawa 3-pin connectors to adapt your older-style wiring. Cycle Terminal sells a connector kit for $15.95.
eBay and AliExpress Fakes
There are numerous sellers of fake Shindengen FH- regulator/rectifier kits. They’re actually old shunt-type technology repackaged to look like like the newer MOSFET Shindengen units. The giveaway is the back side, which will have black potting compound or epoxy on the fakes. The real deal will use a stainless steel plate.
| Knockoff | Genuine |
 |
 |
2024 Update:
I’ve come across some details about additional options. The FH008 and FH012 have the same mounting holes. The FH008 is 35A, while the FH012 is 50A. The FH016 (found on the Kawasaki ZX6) is supposed to be even higher capacity, but I can’t find a specific number.
SH775 – MOSFET series – 35A (14A w/o cooling), 15V max
FH020 – MOSFET shunt – 35A (30A w/o cooling), 14.8V max
SH019 – MOSFET shunt – 50A (41A w/o cooling), 14.2V max
FH012 – MOSFET shunt – 50A (41A w/o cooling), 14.8V max
